A Tactical Landscape: Exploring the Map of Bunker Hill in Battlefield V
Related Articles: A Tactical Landscape: Exploring the Map of Bunker Hill in Battlefield V
Introduction
With great pleasure, we will explore the intriguing topic related to A Tactical Landscape: Exploring the Map of Bunker Hill in Battlefield V. Let’s weave interesting information and offer fresh perspectives to the readers.
Table of Content
A Tactical Landscape: Exploring the Map of Bunker Hill in Battlefield V

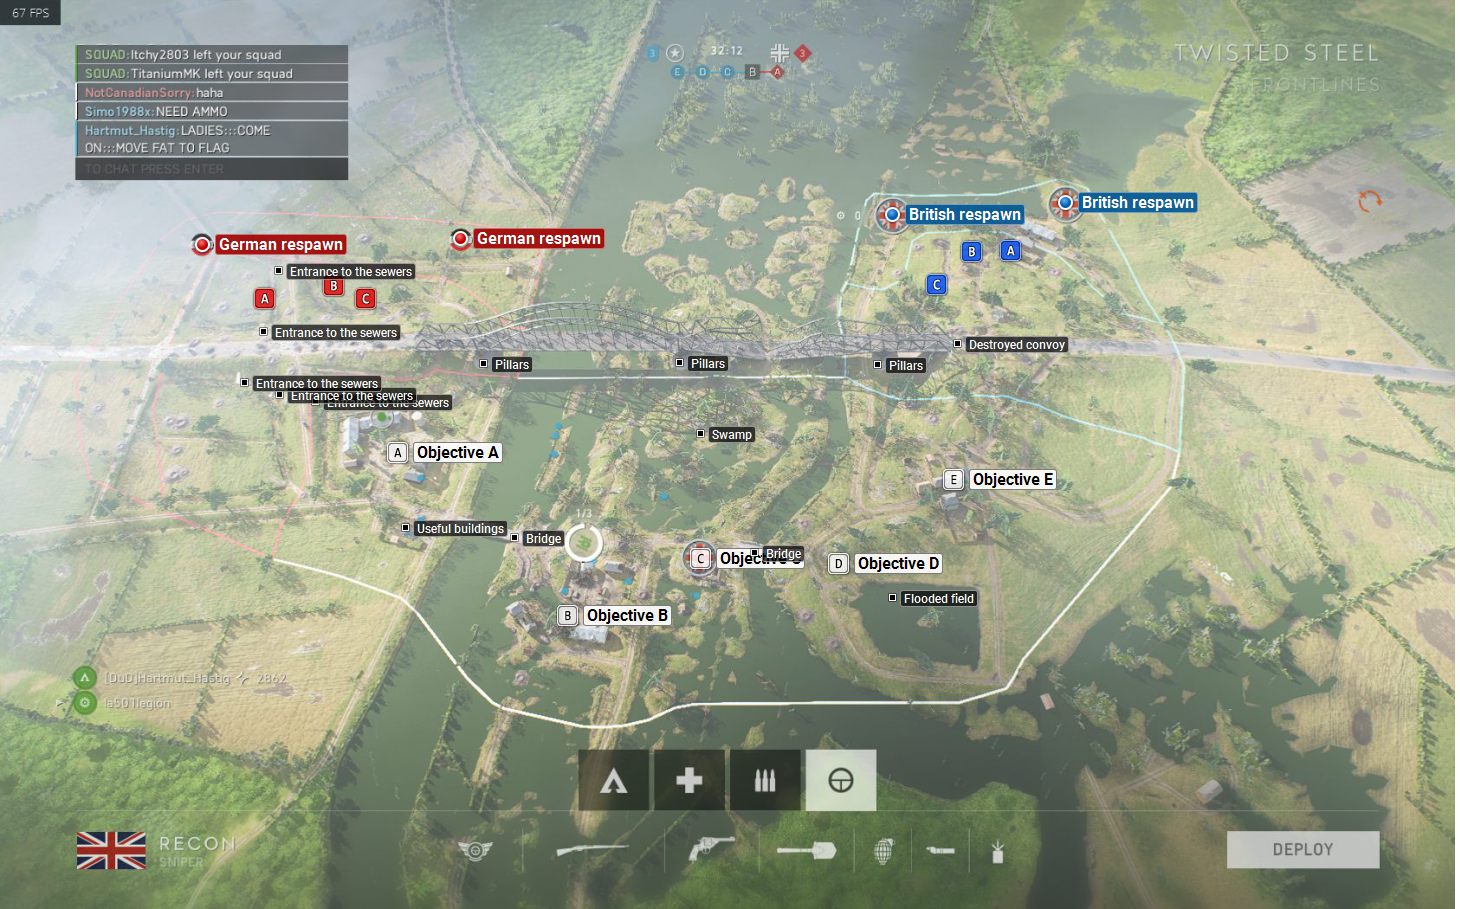
The iconic map of Bunker Hill in Battlefield V transports players to the heart of the Battle of Bunker Hill, a pivotal moment in the American Revolutionary War. This map, meticulously crafted to reflect the historical terrain and strategic importance of the battle, offers a unique and engaging gameplay experience, immersing players in the chaos and intensity of the fight for American independence.
The Battlefield: Terrain and Layout
The map of Bunker Hill is characterized by its strategic landscape, divided into three distinct areas:
- Breeds Hill: The central and highest point of the map, dominated by the iconic Bunker Hill Monument. This area features a network of trenches, fortified positions, and open ground, making it a prime location for intense close-quarters combat and strategic maneuvering.
- Charlestown: Located at the bottom of the hill, this area features a dense urban environment with narrow streets, buildings, and a bustling marketplace. It provides cover and flanking opportunities for infantry, while also offering strategic points for controlling the flow of the battle.
- The British Landing Zone: Situated along the Charles River, this area is where the British forces initially landed and attempted to advance towards Breeds Hill. It features open ground, providing a clear line of sight for long-range engagements and artillery fire.
Gameplay Dynamics and Objectives
The map of Bunker Hill is designed to encourage a dynamic and diverse gameplay experience, incorporating various objectives and gameplay mechanics:
- Capture Points: The map features multiple capture points strategically placed across the three areas, allowing for constant competition and shifting control over the battlefield. Capturing these points grants access to resources, spawn points, and strategic advantages.
- Fortifications: The map emphasizes the importance of fortification and strategic positioning. Players can utilize sandbags, barbed wire, and other fortifications to create defensive positions and control chokepoints, adding a layer of tactical depth to the gameplay.
- Vehicle Warfare: The map allows for the deployment of various vehicles, including tanks, armored cars, and artillery, adding another dimension to the combat. Players can use vehicles to support infantry, break through enemy lines, or control strategic areas.
- Air Combat: The map’s open areas and strategic points make it suitable for air combat, allowing players to engage in aerial dogfights and provide air support to their teammates.
Historical Significance and Immersion
The map of Bunker Hill is not merely a virtual battlefield but a historical tribute to the Battle of Bunker Hill. The map’s design meticulously recreates the key locations, fortifications, and landmarks of the battle, including:
- Bunker Hill Monument: The iconic monument stands as a testament to the bravery of the American revolutionaries and serves as a focal point for the map.
- The Charlestown Navy Yard: This historical site played a crucial role in the battle, providing supplies and support to the American forces.
- The British Landing Zone: The map accurately reflects the location where the British forces landed and began their advance towards Breeds Hill.
By immersing players in this historical setting, the map of Bunker Hill fosters a deeper understanding of the events of the battle and the sacrifices made by those who fought for American independence.
FAQs about Bunker Hill
Q: What are the best strategies for playing on Bunker Hill?
A: Effective strategies on Bunker Hill vary depending on your preferred playstyle and the current state of the battle. However, some general tips include:
- Utilize Fortifications: Constructing and utilizing fortifications is crucial for gaining control of key locations and defending against enemy advances.
- Control High Ground: Breeds Hill offers a commanding view of the battlefield, making it a prime location for snipers and artillery.
- Utilize Flanking Tactics: The map’s dense urban environment provides opportunities for flanking maneuvers, allowing you to outmaneuver your opponents and gain a tactical advantage.
- Coordinate with Your Team: Communication and coordination are crucial for success, especially when dealing with enemy vehicles or coordinating attacks.
Q: What are the best weapons and gadgets to use on Bunker Hill?
A: The best weapons and gadgets for Bunker Hill depend on your playstyle and the specific objectives you are pursuing. However, some general recommendations include:
- Close-quarters combat: Submachine guns, shotguns, and melee weapons are effective for close-quarters combat, especially in the urban areas of Charlestown.
- Long-range engagements: Rifles and sniper rifles are ideal for long-range engagements, especially from the high ground of Breeds Hill.
- Defensive support: Gadgets such as grenades, anti-tank mines, and fortifications can provide defensive support and help secure strategic positions.
Q: What are the best vehicles to use on Bunker Hill?
A: The best vehicles for Bunker Hill depend on the current state of the battle and your team’s strategy. However, some general recommendations include:
- Tanks: Tanks can be effective for pushing through enemy lines, controlling strategic areas, and providing heavy firepower.
- Armored cars: Armored cars are more mobile than tanks and can be used for flanking maneuvers and providing flanking support to infantry.
- Artillery: Artillery can be used to bombard enemy positions and provide long-range support for your team.
Tips for Playing on Bunker Hill
- Learn the Map: Familiarize yourself with the map’s layout, objectives, and strategic points to gain a tactical advantage.
- Adapt to the Situation: Be prepared to adapt your strategy based on the current state of the battle, the enemy’s tactics, and your team’s objectives.
- Utilize Cover: The map offers plenty of cover, so use it to your advantage to avoid enemy fire and gain a tactical advantage.
- Communicate with Your Team: Communication is crucial for coordinating attacks, defending positions, and achieving victory.
Conclusion
The map of Bunker Hill in Battlefield V is more than just a virtual battlefield; it is a historical tribute to the Battle of Bunker Hill, a pivotal moment in the American Revolution. The map’s meticulous design, strategic gameplay, and immersive atmosphere offer players a unique and engaging experience, allowing them to step into the shoes of the brave men and women who fought for American independence. By understanding the map’s layout, objectives, and gameplay dynamics, players can master the art of warfare on Bunker Hill and contribute to their team’s victory. Whether you are a seasoned veteran or a new recruit, the map of Bunker Hill offers a challenging and rewarding gameplay experience that will keep you coming back for more.


Closure
Thus, we hope this article has provided valuable insights into A Tactical Landscape: Exploring the Map of Bunker Hill in Battlefield V. We thank you for taking the time to read this article. See you in our next article!