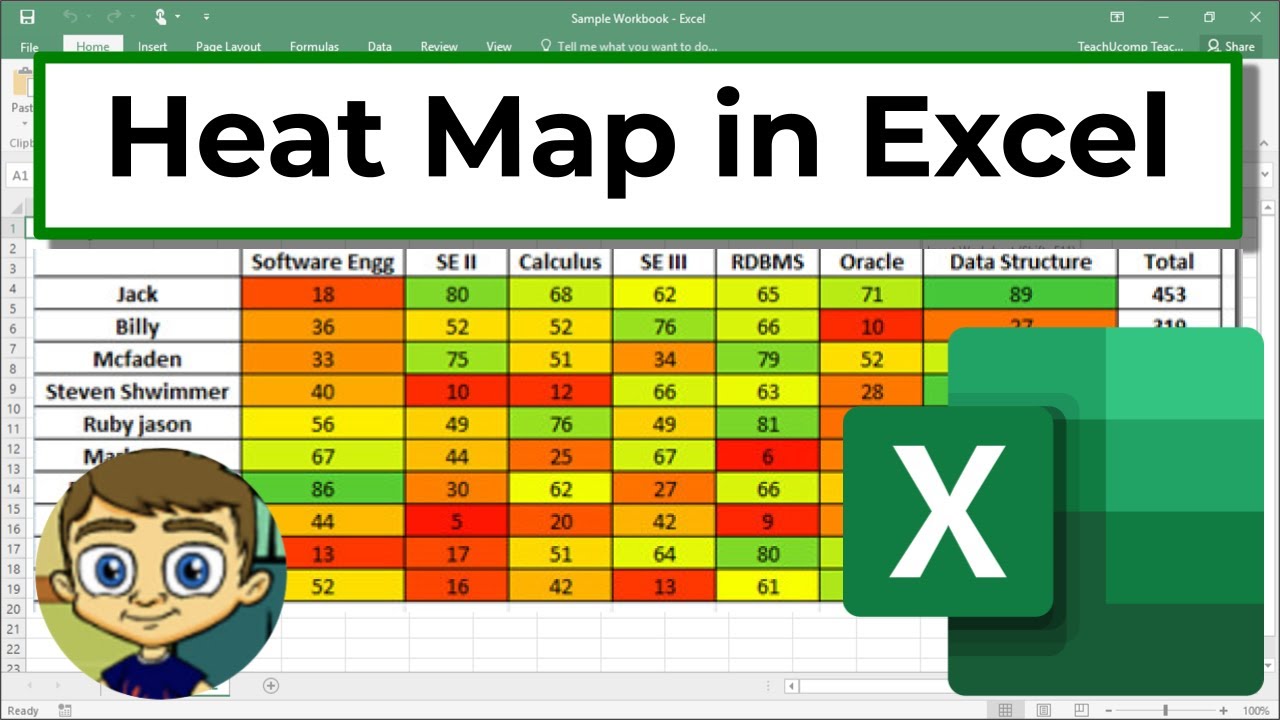
Unveiling Patterns: Crafting a Heat Map in Excel for Data Visualization
Related Articles: Unveiling Patterns: Crafting a Heat Map in Excel for Data Visualization
Introduction
In this auspicious occasion, we are delighted to delve into the intriguing topic related to Unveiling Patterns: Crafting a Heat Map in Excel for Data Visualization. Let’s weave interesting information and offer fresh perspectives to the readers.
Table of Content
Unveiling Patterns: Crafting a Heat Map in Excel for Data Visualization
In the realm of data analysis, visual representations hold immense power to reveal hidden patterns and trends. Among these visual tools, the heat map stands out as a potent instrument for showcasing data distribution and identifying areas of interest. Excel, a ubiquitous spreadsheet application, provides a user-friendly platform for constructing these insightful visualizations.
This article delves into the process of creating a heat map in Excel, offering a comprehensive guide for leveraging this technique to enhance data understanding and decision-making.
Understanding the Essence of a Heat Map
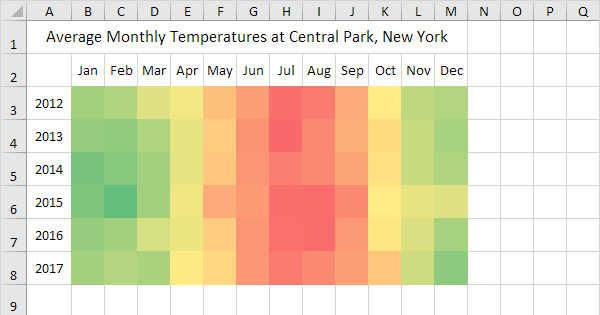
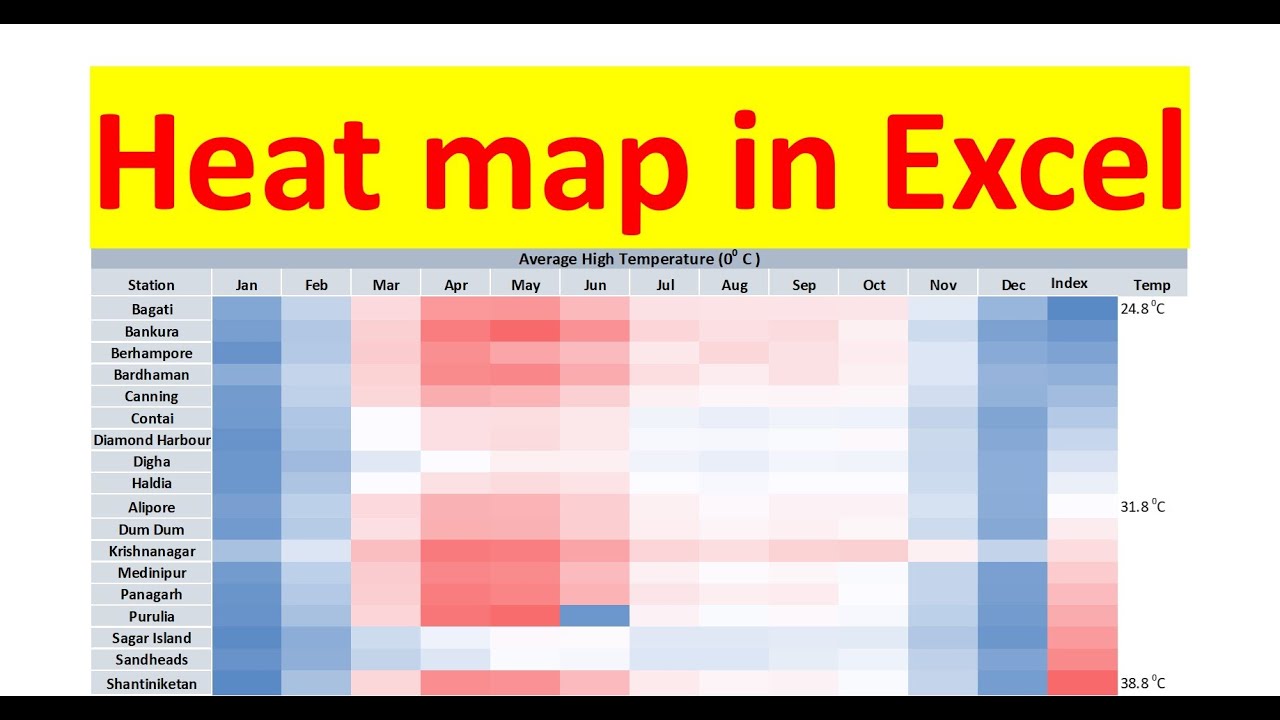
A heat map is a graphical representation of data where values are depicted using a color gradient. Typically, higher values are represented by warmer colors (like red or orange), while lower values are displayed in cooler shades (like blue or green). This color-coding scheme enables a quick and intuitive grasp of data distribution, highlighting areas of concentration and divergence.
The Significance of Heat Maps in Data Analysis
Heat maps play a crucial role in data analysis by:
- Revealing Trends: By visually representing data distribution, heat maps help identify patterns and trends that may not be readily apparent in raw data.
- Highlighting Anomalies: Outliers or unusual values can be easily spotted on a heat map, prompting further investigation and analysis.
- Facilitating Comparisons: Comparing different datasets or variables becomes effortless with heat maps, allowing for side-by-side analysis and identification of similarities and differences.
- Enhancing Communication: Heat maps present complex data in a visually appealing and easily digestible format, fostering effective communication and understanding among stakeholders.
Constructing a Heat Map in Excel: A Step-by-Step Guide
-
Data Preparation: Begin by organizing your data in a tabular format within an Excel worksheet. Ensure that the data is clean, consistent, and free from errors.
-
Selecting the Data Range: Highlight the cells containing the data you wish to visualize as a heat map.
-
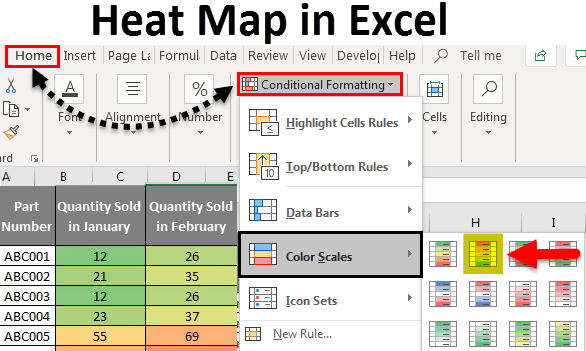
Conditional Formatting: Access the "Conditional Formatting" option within the Excel ribbon (Home tab > Styles group).
-
Color Scales: Choose "Color Scales" from the Conditional Formatting menu.
-
Gradient Selection: Select a color gradient that aligns with your data interpretation. For instance, a red-to-green gradient can be used to represent high to low values.
-
Customization: Customize the color scale further by adjusting the number of colors, minimum and maximum values, and color scheme.
-
Data Labels: Consider adding data labels to each cell for enhanced clarity. You can access this option within the "Format Cells" dialog box.
-
Chart Creation (Optional): For more visually appealing presentations, create a heat map chart using the "Insert" tab and selecting "Heatmap" from the "Charts" group.
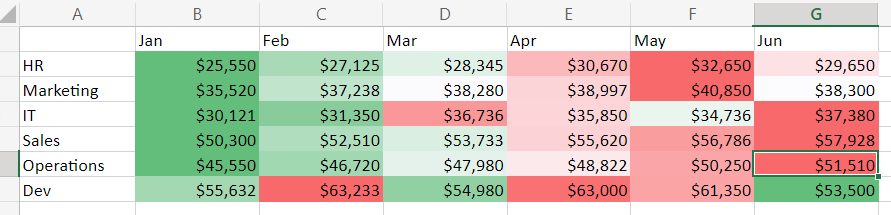
Illustrative Example: Analyzing Sales Performance
Imagine a company analyzing its sales performance across different regions and product categories. The data is organized in a table with regions as rows and product categories as columns, with sales figures in each cell. By applying the heat map technique, the company can quickly identify:
- Top-performing regions: Regions with higher sales figures will be depicted in warmer colors, indicating strong performance.
- Product categories with high demand: Product categories with consistently high sales across regions will be highlighted in warmer colors.
- Underperforming areas: Regions or product categories with lower sales figures will be represented in cooler colors, signaling areas requiring attention.
Addressing Common Queries
Q: Can I use a heat map for categorical data?
A: While heat maps are primarily designed for numerical data, they can be used to represent categorical data through color-coding. For example, different categories could be assigned distinct colors, allowing for visual analysis of their distribution.
Q: How can I customize the color gradient in a heat map?
A: Excel offers a range of pre-defined color gradients, but you can also create custom gradients by specifying the colors and their corresponding values.
Q: Can I create a heat map with multiple variables?
A: Excel’s heat map feature primarily focuses on visualizing a single variable. However, you can create more complex heat maps using pivot tables or other data visualization tools.
Tips for Effective Heat Map Creation
- Data Normalization: Consider normalizing your data before creating a heat map to ensure that all values are on a comparable scale.
- Appropriate Color Scheme: Select a color scheme that aligns with your data interpretation and target audience.
- Data Labels: Include data labels to enhance clarity and provide specific values for each cell.
- **Chart

Closure
Thus, we hope this article has provided valuable insights into Unveiling Patterns: Crafting a Heat Map in Excel for Data Visualization. We hope you find this article informative and beneficial. See you in our next article!